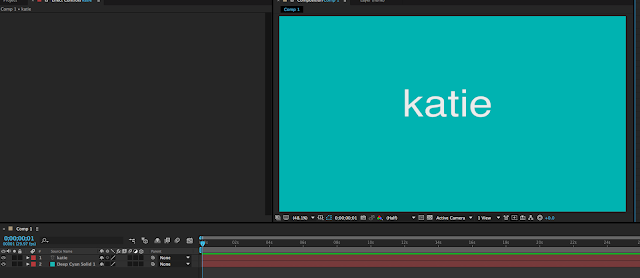
We were then let free to play about with the effects on the title. I started by finding out how to put a timecode on it. This may be useful in our project, possibly on the 'live' interview shot.

I tried out a number of effects with the text, some didn't do much at all but others flung the letters around the page and it looked really good. The screenshot below was called random rotation and threw each letter round in the same way for each one:
Making 2D text look 3D:
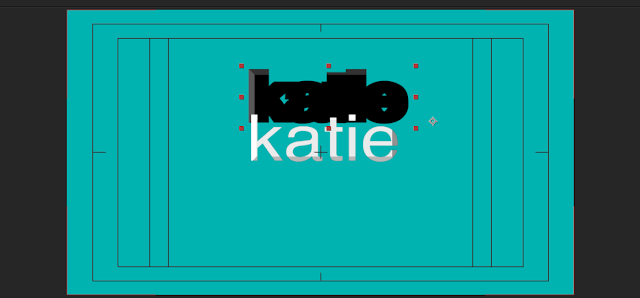
Ferg then taught us how to create a 3D effect with our text. To start with I applied a 'bevel edges' effect to create the shadow on the text.
Next, I duplicated the text layer and made one of the layers thicker with the 'edge thickness' bar. This made the layer really thick and the edges joined together to make one black line creating the text.

I then put the thick lined text behind the original white text and it created this 3D look:
Our next task was to create a moving title using key frames. To start with we had to create another piece of text and click the title safe button. Next, we had to create a 'camera' and set it to 35mm and change the title settings to 3D layer.
To add the keyframes, I made sure I was on the 'position' setting and I clicked on the timeline to place the keyframes at the different times. I tried to keep the middle two roughly the same width apart and put the last one at 2 seconds. Once the keyframes had been put in place, at the first one I made the text really big so it was out of frame. This way when I pressed play the 'News' text came into frame and got smaller.
Position and opacity keyframes:
Once it had got smaller it stayed that size until the third keyframe.
When it hit the third keyframe it got even smaller and disappeared once it hit the 2 seconds. To make it disappear I had to add an 'opacity' keyframe, the last setting in the photo below:
This then let the text disappear and the clip was finished.
Bevel edges and motion blur:
As I had finished the motion part of the task, I made the 'News' look nicer and more news-like. I changed the font to Helvetica and added the 'bevel edges' tool again to give the shadow.
To add the motion blur, I pressed the little blue icon at the bottom left of the screenshot:
After I completed the look of my text, I decided to create another layer and put more text on it to follow the original. I used the text 'News Today' and just duplicated the 'News' layer and changed the text to 'Today'.
Final clip:


No comments:
Post a Comment